A DIY Guide to Floor Stripping and Waxing for Home Beautification

Are You Ready to Master DIY Floor Stripping and Waxing for a Healthier, More Inviting Home?
Maintaining your home’s floors isn’t just about aesthetics; it’s about creating a welcoming space for yourself and your guests while keeping things clean and healthy. If you’ve ever thought about stripping and waxing your floors but felt overwhelmed by the idea, don’t worry – you’ve got this! While bringing in the professionals is always an option, tackling the job yourself can be both satisfying and budget-friendly. Let’s walk through the process together, step by step, so you can confidently revitalize your floors right at home.

Step 1:
Clear the Space
Before diving into the nitty-gritty of floor care, take a moment to clear the area. Move any furniture or obstacles that might get in your way, giving yourself plenty of room to work. Once the space is clear, grab your broom and sweep away any dirt or debris that’s accumulated.

Step 2:
Gather Your Supplies
Now that the space is prepped, it’s time to gather your tools and solutions. Make sure you have everything you’ll need on hand before you get started. A good vacuuming session can help get rid of any lingering dust or dirt, setting the stage for a thorough cleaning.

Step 3:
Apply the Stripper
Once the floor is clean, it’s time to break out the stripping solution. Apply it carefully, following the instructions on the label. Diluting the solution with water can help prevent any damage to your floors. Don’t forget to protect yourself with gloves, a mask, and eyewear – safety first!

Step 4:
Seal the Deal
After stripping away the old wax, it’s time to seal up any pores or cracks in the floor. Applying a couple of coats of sealant will ensure that your floors stay looking fresh for longer.

Step 5:
Scrub Away
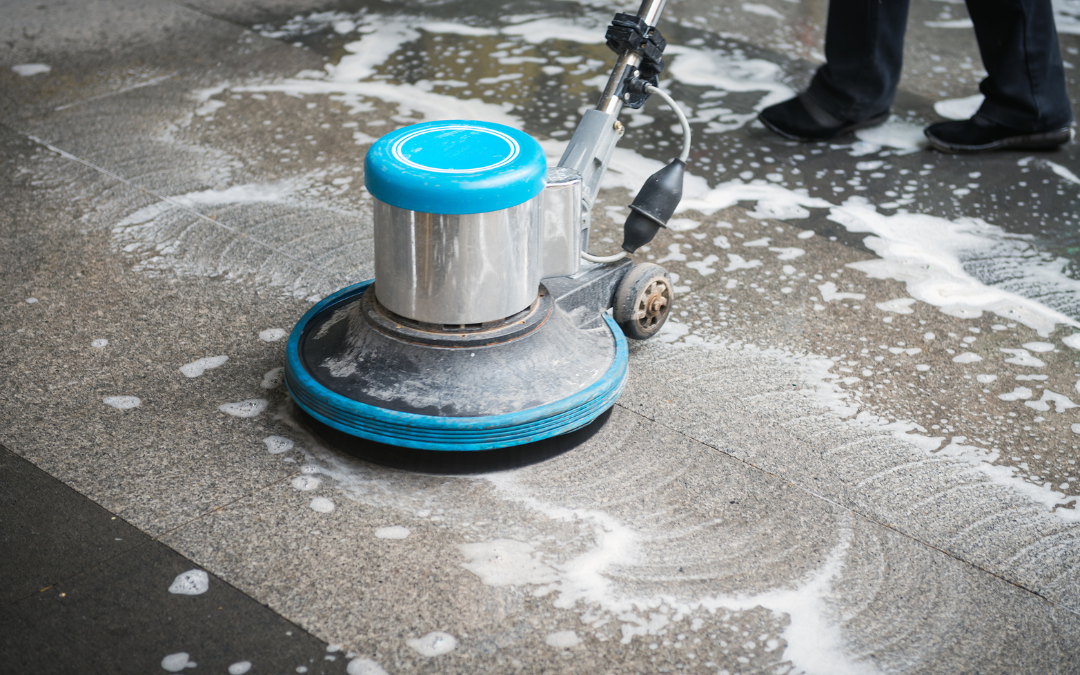
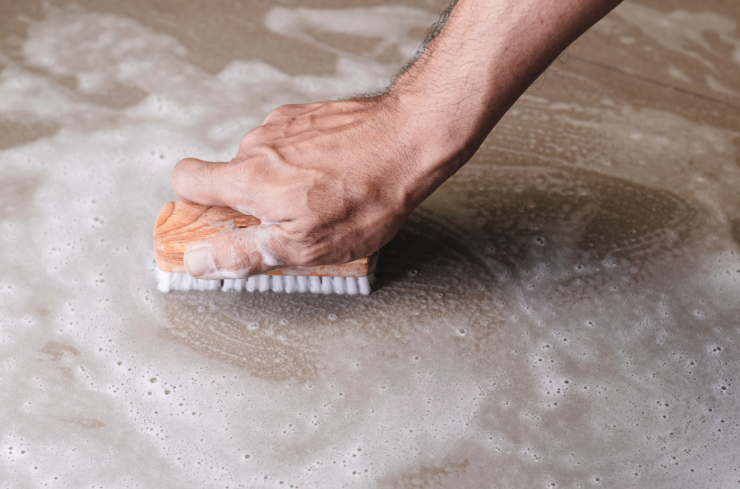
Now comes the fun part – scrubbing! Whether you’re using a manual scrub brush or an electric floor scrubber, make sure to pay special attention to those hard-to-reach areas. Those nooks and crannies tend to collect more dirt and wax buildup, so a little extra elbow grease might be necessary.

Step 6:
Rinse and Dry
Once the floor is scrubbed clean, it’s time to rinse away any residue. Mop the area with a neutralizer and clean water, then use a floor squeegee to remove any excess liquid. Let the floor dry completely before moving on to the next step.

Step 7:
Wax On, Wax Off
With the floor clean and dry, it’s time to apply the wax. Using a clean mop, apply thin coats of wax to the floor, following the manufacturer’s instructions carefully. Whether you’re using solid wax or liquid wax, the key is to apply evenly and let it dry completely between coats.

Step 8:
Buff it Out
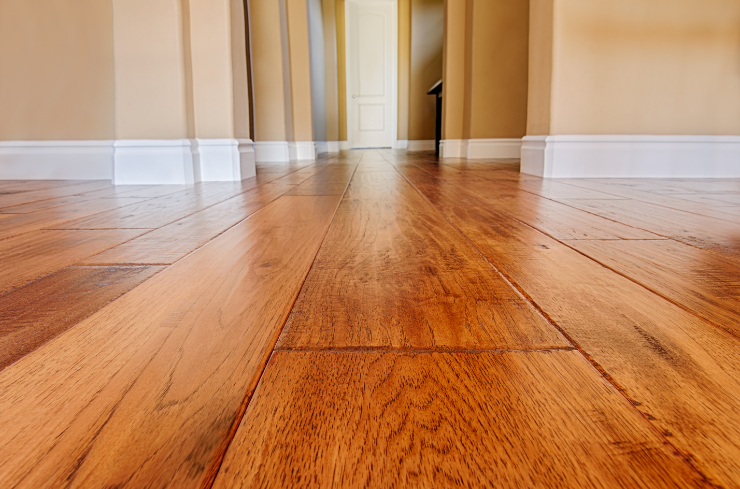
Last but not least, give your floors a final buffing to bring out that beautiful shine. Whether you’re using a buffing machine or a soft cloth, a little extra polish goes a long way in giving your floors that finishing touch.
And there you have it – a comprehensive guide to stripping and waxing your floors at home. With a little time and effort, you can give your floors a fresh new look that’s sure to impress. So roll up your sleeves and get ready to enjoy your sparkling clean floors!
For those who prefer to leave the floor stripping and waxing to the experts, consider calling a professional cleaning service. With their specialized equipment and expertise, professional cleaners can ensure a thorough and efficient job, saving you time and hassle. From protecting delicate flooring materials to achieving a flawless finish, their services offer peace of mind and superior results. Book your clean today with Superior Eco Cleaning Services at 708-752-6188 or email info@superiorecocs.com
